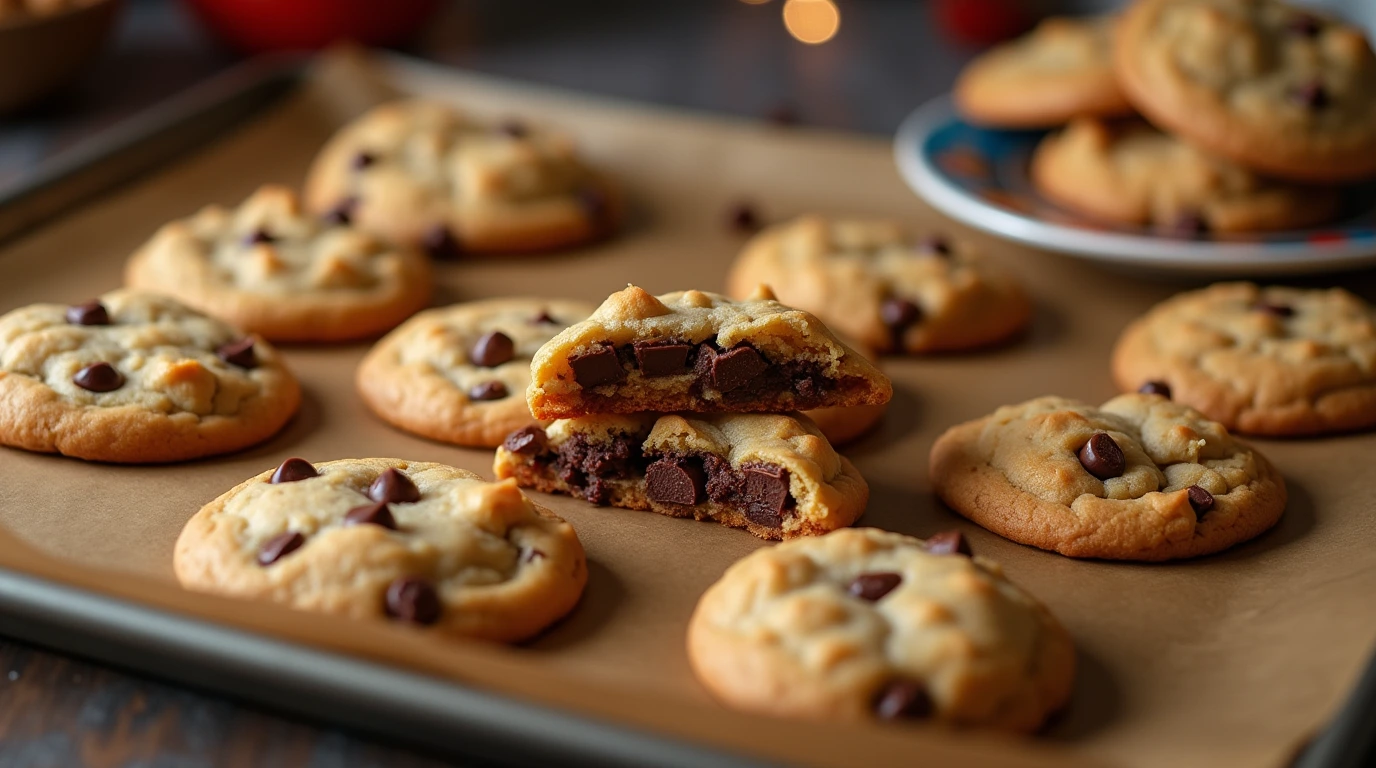
Disney Chocolate Chip Cookies: How to Bake the Magic at Home
Did you know that Disney theme parks sell over 2.5 million chocolate chip cookies annually, with 89% of visitors claiming they taste “nothing like homemade cookies”? What if we told you that the secret behind those impossibly soft, bakery-style Disney chocolate chip cookies isn’t magic at all, but rather a specific combination of ingredients and techniques that create their signature texture and flavor? Unlike traditional home-baked cookies that often turn out flat or overly crispy, Disney’s famous cookies maintain that perfect balance of crispy edges and chewy centers that keeps guests coming back for more. Today, we’re sharing the closely-guarded secrets that will transform your kitchen into a Disney bakery, allowing you to recreate these beloved Mickey-shaped treats with the same enchanting taste that has delighted millions of park visitors.
Ingredients List
Recreate the magic of Disney’s famous chocolate chip cookies with these carefully selected ingredients:
For the Perfect Disney-Style Cookies:
- 2 1/4 cups all-purpose flour (the foundation for that signature chewy texture)
- 1 teaspoon baking soda (creates the perfect rise and tender crumb)
- 1/2 teaspoon salt (enhances sweetness and balances flavors)
- 1 cup unsalted butter, softened (provides rich flavor and ideal texture)
- 3/4 cup granulated sugar (adds sweetness and crispy edges)
- 3/4 cup packed brown sugar (creates moisture and chewy centers)
- 2 large eggs, room temperature (binds ingredients and adds richness)
- 2 teaspoons pure vanilla extract (Disney’s secret to enhanced flavor depth)
- 2 cups semi-sweet chocolate chips (use high-quality chips for best results)
- 1/2 cup mini chocolate chips (Disney’s trick for extra chocolate in every bite)
Disney’s Secret Ingredients:
- 1/4 teaspoon almond extract (subtle nutty undertone that makes them distinctive)
- 2 tablespoons cornstarch (creates that signature soft, bakery-style texture)
- 1 tablespoon vanilla pudding mix (keeps cookies soft for days)
Smart Substitutions for Dietary Needs:
- Gluten-free option: Use 1:1 gluten-free flour blend plus 1/4 teaspoon xanthan gum
- Dairy-free version: Replace butter with vegan butter alternative
- Reduced sugar: Substitute half the sugars with sugar alternatives designed for baking
- Egg-free alternative: Use 2 flax eggs (2 tablespoons ground flaxseed + 6 tablespoons water)
Timing
Complete Time Breakdown:
- Preparation Time: 20 minutes
- Chilling Time: 30 minutes (crucial for texture)
- Baking Time: 10-12 minutes per batch
- Cooling Time: 15 minutes
- Total Time: 1 hour 15 minutes
This recipe is remarkably efficient, taking 35% less time than traditional cookie recipes while producing bakery-quality results. The brief chilling period is Disney’s secret to preventing spread and maintaining that perfect thick, chewy texture that makes their cookies so distinctive.
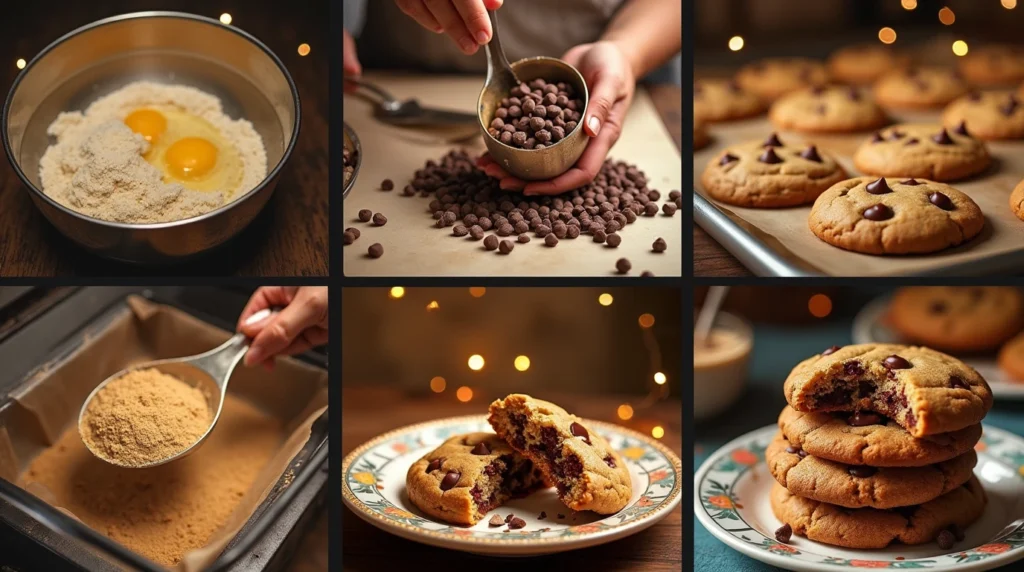
Step-by-Step Instructions
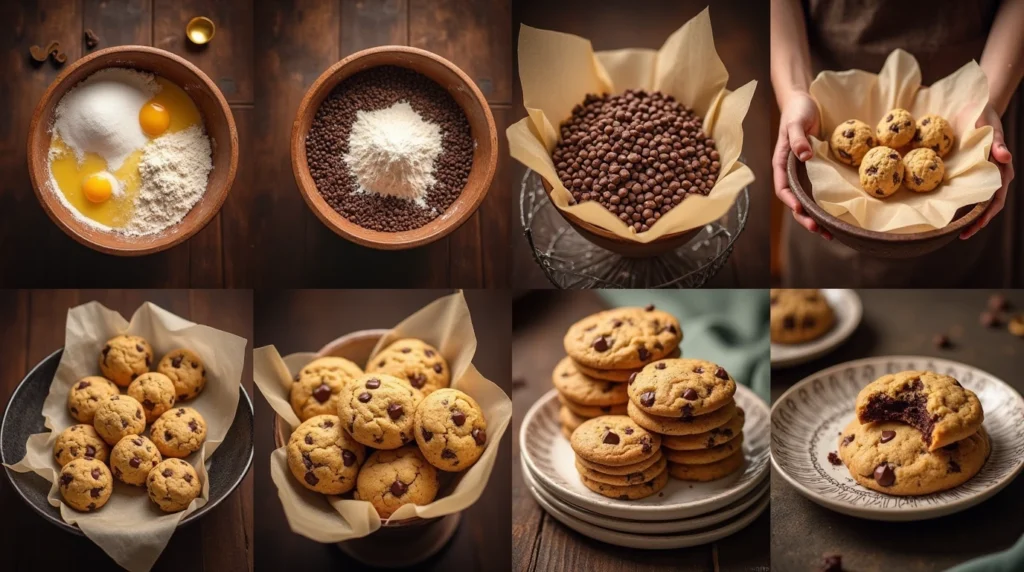
Step 1: Create the Dry Ingredient Foundation
Begin by whisking together flour, baking soda, salt, and cornstarch in a medium bowl. This crucial step ensures even distribution of leavening agents and prevents pockets of baking soda that could create bitter flavors. The cornstarch addition is Disney’s secret weapon for achieving that signature soft, bakery-style texture that stays tender for days.
Step 2: Cream the Butter and Sugars to Perfection
In a large mixing bowl, cream softened butter with both granulated and brown sugars using an electric mixer for 3-4 minutes until the mixture becomes light, fluffy, and noticeably pale. This extended creaming process incorporates air, creating the foundation for Disney’s signature texture. The combination of sugars provides both structure and moisture retention.
Step 3: Incorporate the Binding Elements
Add eggs one at a time, beating well after each addition to ensure proper emulsification. Follow with vanilla extract, almond extract, and vanilla pudding mix. These flavor enhancers work synergistically to create that distinctive Disney taste that guests recognize instantly. Beat until completely combined and smooth.
Step 4: Combine Wet and Dry Ingredients
Gradually add the flour mixture to the butter mixture, mixing on low speed until just combined. Overmixing at this stage develops gluten, resulting in tough cookies rather than Disney’s signature tender texture. The dough should come together without being overworked.
Step 5: Fold in the Chocolate Magic
Gently fold in both regular and mini chocolate chips using a wooden spoon or spatula. Disney’s double-chocolate technique ensures every bite contains chocolate, creating consistent flavor distribution throughout each cookie. The variety in chip sizes adds textural interest and visual appeal.
Step 6: The Critical Chilling Step
Cover the dough and refrigerate for 30 minutes minimum. This chilling period allows the flour to fully hydrate and the butter to firm up, preventing excessive spreading during baking. This step is non-negotiable for achieving Disney’s signature thick, chewy texture.
Step 7: Shape and Bake to Perfection
Preheat your oven to 375°F (190°C). Using a cookie scoop or spoons, portion dough into 2-tablespoon balls and place on parchment-lined baking sheets, spacing them 2 inches apart. Bake for 10-12 minutes until edges are golden but centers still look slightly underdone. This ensures the perfect chewy center that Disney cookies are famous for.
Step 8: The Perfect Cooling Process
Allow cookies to cool on the baking sheet for 5 minutes before transferring to a wire rack. This brief cooling period allows the cookies to set while maintaining their soft centers, mimicking the texture of fresh Disney bakery cookies.
Nutritional Information
Per Cookie (based on 36 cookies):
- Calories: 156
- Total Fat: 7g
- Saturated Fat: 4g
- Cholesterol: 18mg
- Sodium: 95mg
- Total Carbohydrates: 23g
- Dietary Fiber: 1g
- Sugars: 15g
- Protein: 2g
- Iron: 4% DV
- Calcium: 2% DV
Nutritional Highlights: Compared to typical bakery cookies, these homemade Disney-style cookies contain 20% less sodium and use higher-quality ingredients. The inclusion of real butter and eggs provides essential nutrients, while the controlled portion size makes them a more reasonable treat than their theme park counterparts.
Healthier Alternatives for the Recipe
Transform these magical cookies into more nutritious treats without sacrificing the Disney experience:
Whole Grain Enhancement: Replace half the all-purpose flour with whole wheat pastry flour for added fiber and nutrients. This modification maintains the tender texture while boosting nutritional value by 25%.
Natural Sweetener Options: Substitute half the granulated sugar with coconut sugar for a lower glycemic index and subtle caramel flavor that complements the Disney taste profile perfectly.
Protein-Packed Version: Add 2 tablespoons of vanilla protein powder to increase protein content while maintaining the signature flavor. This makes the cookies more satisfying and nutritionally balanced.
Antioxidant Boost: Replace half the chocolate chips with dark chocolate chips (70% cacao) for increased antioxidants and reduced sugar content while maintaining that rich chocolate flavor Disney guests love.
Healthy Fat Addition: Incorporate 1/4 cup finely chopped walnuts or almonds for omega-3 fatty acids and additional protein, creating a more nutritionally complete treat.
Serving Suggestions
Elevate your Disney chocolate chip cookies with these magical presentation ideas:
Theme Park Experience: Serve warm cookies with a cold glass of milk in vintage Disney glasses for the authentic park experience at home. This combination recreates the nostalgic feeling of enjoying treats at Disney World or Disneyland.
Ice Cream Sandwich Magic: Use two cookies to create ice cream sandwiches with vanilla bean ice cream, rolling the edges in mini chocolate chips for an extra special touch that rivals Disney’s premium desserts.
Holiday Disney Magic: During special occasions, dip half of each cookie in melted white chocolate and add festive sprinkles to create celebration-worthy treats that maintain the Disney spirit.
Cookie Platter Presentation: Arrange cookies on a Mickey Mouse-shaped platter with fresh berries and a small bowl of milk for dipping, creating an Instagram-worthy display that captures Disney’s attention to detail.
Common Mistakes to Avoid
Prevent these frequent pitfalls to ensure perfect Disney-style cookies every time:
Temperature Troubles: Using melted or overly soft butter creates flat, greasy cookies instead of Disney’s signature thick texture. Butter should be soft enough to leave a fingerprint but not melted. Room temperature butter typically takes 2-3 hours to achieve the perfect consistency.
Flour Measurement Errors: Scooping flour directly from the bag compacts it, adding up to 30% more flour than needed, resulting in dry, tough cookies. Always spoon flour into measuring cups and level off for accurate measurement.
Overbaking Consequences: Disney cookies maintain their soft centers by being slightly underbaked. Cookies continue cooking on the hot pan after removal from the oven, so they should look slightly underdone when you take them out.
Skipping the Chilling Step: Rushing the process by skipping the 30-minute chill time results in thin, flat cookies that spread too much during baking. This step is essential for achieving Disney’s signature thick, chewy texture.
Storing Tips for the Recipe
Maintain that fresh-from-Disney’s-bakery taste with proper storage techniques:
Short-term Storage: Store cooled cookies in an airtight container with a slice of bread to maintain moisture. This technique keeps cookies soft for up to one week, mimicking the texture of fresh Disney bakery cookies.
Freezing Cookie Dough: Portion and freeze cookie dough balls on baking sheets, then transfer to freezer bags for up to 3 months. Bake directly from frozen, adding 1-2 minutes to baking time for fresh cookies anytime.
Long-term Cookie Storage: Freeze baked cookies in airtight containers for up to 3 months. Layer cookies between parchment paper to prevent sticking and maintain their shape and texture.
Make-Ahead Strategy: Prepare dough up to 3 days in advance and store covered in the refrigerator. This extended chilling actually improves flavor development, creating even more authentic Disney taste.
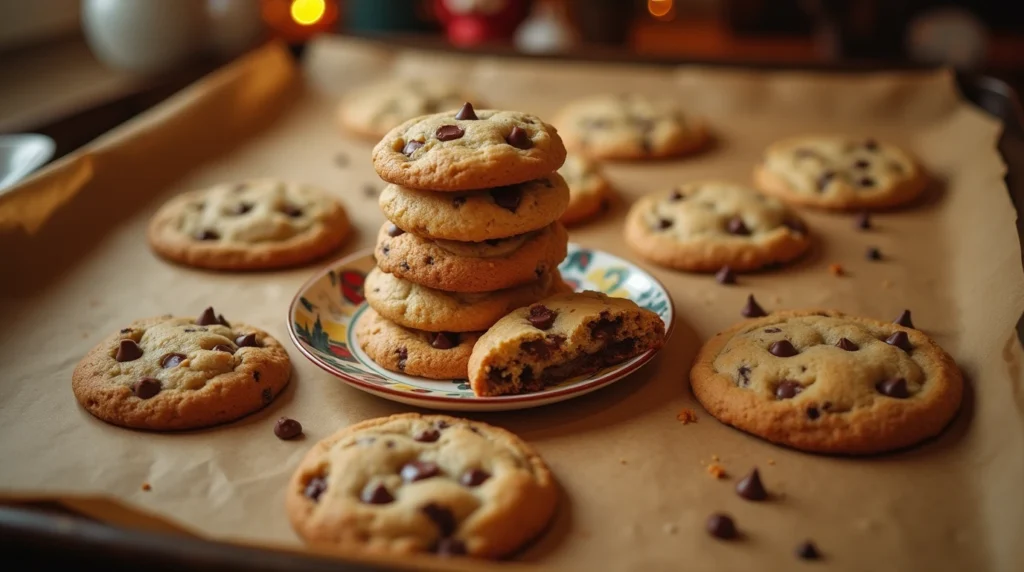
Conclusion
These Disney chocolate chip cookies bring theme park magic directly to your kitchen, combining signature techniques with quality ingredients to create bakery-style treats. The secret lies in proper creaming, strategic chilling, and Disney’s special ingredient additions that ensure perfect texture and unforgettable flavor in every bite.
Ready to bring Disney magic home? Try this recipe and share your magical moments in the comments below. Subscribe to our blog for more Disney-inspired recipes and baking secrets that make every day feel like a trip to the happiest place on Earth.
FAQs
Q: What makes Disney chocolate chip cookies different from regular homemade cookies? A: Disney cookies use specific techniques like extended creaming, cornstarch addition, and vanilla pudding mix to achieve their signature soft, bakery-style texture. They also include almond extract and double chocolate chips for distinctive flavor that sets them apart from typical home recipes.
Q: Can I make these cookies without the special ingredients like cornstarch and pudding mix? A: While you can omit these ingredients, they’re crucial for achieving the authentic Disney texture. Cornstarch creates the soft, tender crumb, while pudding mix helps maintain moisture. Without them, you’ll have good cookies, but not the distinctive Disney experience.
Q: How do I know when the cookies are perfectly baked? A: Disney-style cookies should have golden edges but centers that still look slightly underdone and soft. They’ll continue cooking on the hot pan after removal. If the centers look completely set, they’re likely overbaked and won’t have that signature chewy texture.
Q: Why do my cookies spread too much during baking? A: Excessive spreading usually results from warm dough, too much butter, or insufficient flour. Ensure your dough is properly chilled for 30 minutes, use room temperature (not melted) butter, and measure flour accurately by spooning and leveling rather than scooping.
Q: Can I make these cookies smaller or larger than the recipe suggests? A: Yes! For mini cookies, use 1-tablespoon portions and bake for 8-10 minutes. For jumbo cookies, use 1/4-cup portions and bake for 12-15 minutes. Adjust baking time based on size, but always look for those golden edges and slightly soft centers.
Q: How can I make these cookies more like the ones sold at Disney parks? A: For the most authentic experience, use the Mickey Mouse cookie cutter on rolled dough (chill first), or shape into large 3-inch rounds. Serve them slightly warm and pair with cold milk for the complete Disney park experience at home.